
Warp Image
Warp, liquify and distort photos online: push, twirl, bloat and pinch any part of an image with a brush, or add a swirl, bulge, fisheye or wave effect.
This free online image warp tool works like the Liquify filter of Photoshop. Drag over the image with the Push brush to bend it as if it were made of soft rubber: make a smile bigger, slim a shape, stretch a nose or bend a straight line. Hold the Twirl, Bloat and Pinch brushes to spin, enlarge or shrink what is under them, and fix any mistake with Restore or with undo.
For one-click distortions, choose an effect: swirl, bulge, pinch, fisheye, wave or ripple, and click on the image to place it. Download the warped image as a PNG, JPG or WebP at its original size, or as an animated GIF of the image warping.
Everything runs directly in your browser, on your graphics card. No image is uploaded to a server, and nothing needs to be installed.
Drop your image here
Examples
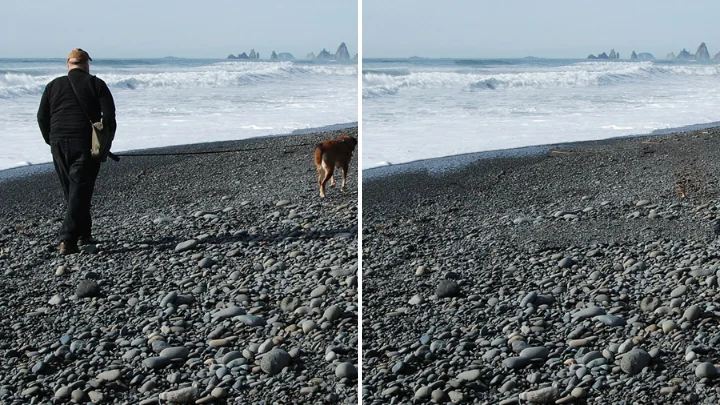
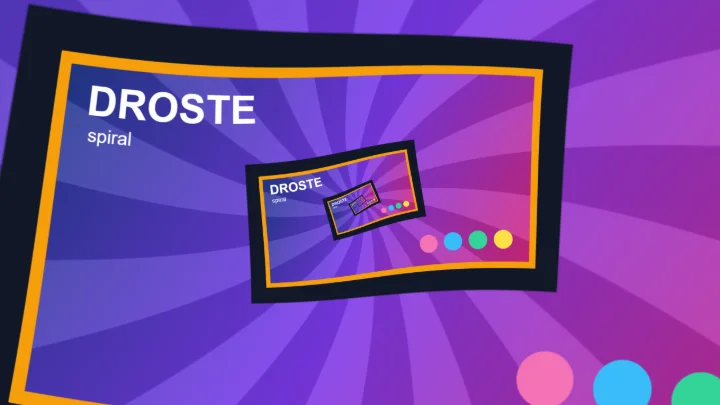
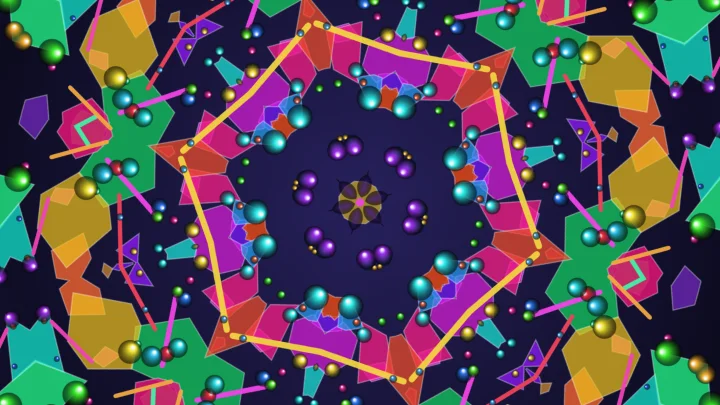
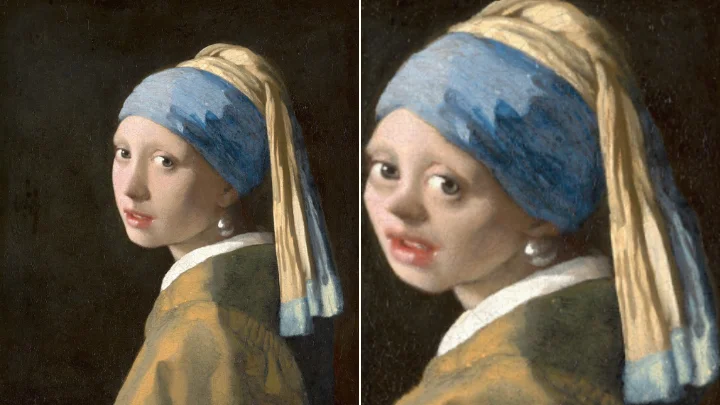
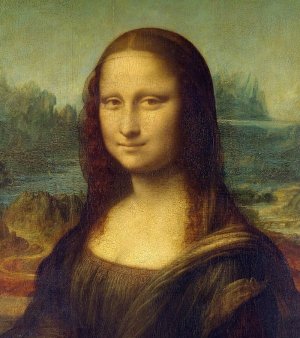
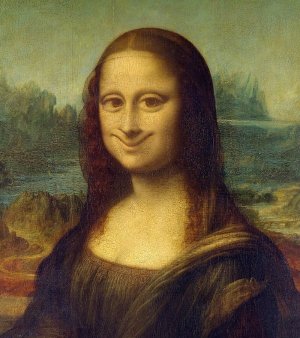
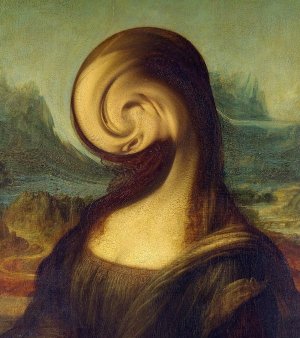
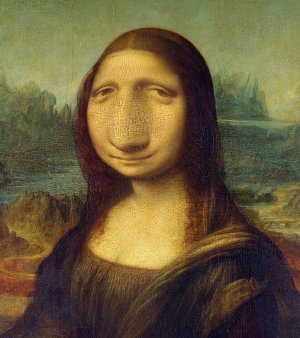
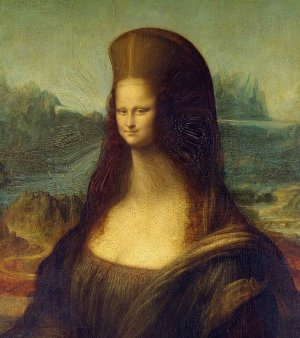
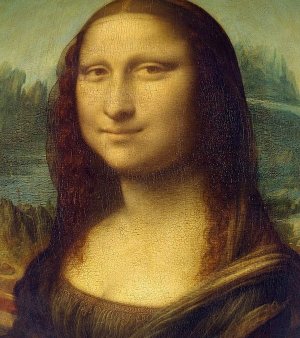
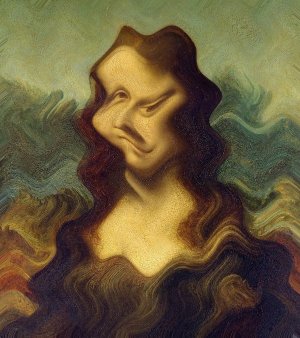
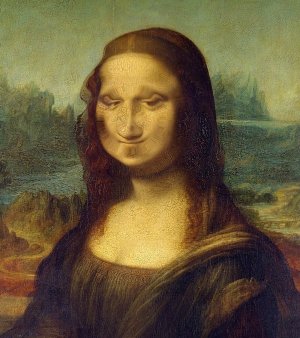
These images were made with this tool, from Leonardo da Vinci's Mona Lisa (about 1503-1519), which is in the public domain.
Liquify brushes
Effects
How to warp an image?
- Upload your image - A photo, a portrait, a meme template or a drawing. You can also paste an image with Ctrl+V, or click "Try it with a sample image".
- Choose a brush - Above the image: Push, Twirl right, Twirl left, Bloat, Pinch, Smooth or Restore.
- Set the brush size and strength - A large brush bends big areas smoothly; a small brush with a low strength makes precise changes.
- Drag on the image - With the mouse, a pen or your finger. "Push" moves the image along with the pointer, while the other brushes keep working as long as you hold the button.
- Add an effect (optional) - Choose swirl, bulge, pinch, fisheye, wave or ripple, and click on the image to place it.
- Download the result - Choose PNG, JPG or WebP and click "Download image", or click "Download GIF" for an animation of the image warping.
Options
| Field | Description | ||||||||||||||
|---|---|---|---|---|---|---|---|---|---|---|---|---|---|---|---|
| Brushes | Buttons above the image.
| ||||||||||||||
| Brush size | The diameter of the brush, in pixels of the image. The circle around the pointer shows it. The keys [ and ] make it smaller and larger. | ||||||||||||||
| Strength | How much the brush moves the image. At 100%, the center of the "Push" brush follows the pointer exactly. For the other brushes, it is their speed. | ||||||||||||||
| Effect | A distortion applied to the whole image or to a circle of it. The brushes still work on top of it.
| ||||||||||||||
| Angle | How far the swirl turns the image at its center, in degrees. 360° is a full turn. Negative angles turn the other way. | ||||||||||||||
| Strength (bulge, pinch, fisheye) | How strong the effect is. At 0%, the image is not changed. | ||||||||||||||
| Height of the waves | How far the wave and ripple effects move the image: 100% is 20% of the shorter side of the image. | ||||||||||||||
| Distance between the waves | The length of one wave, in % of the shorter side of the image. | ||||||||||||||
| Radius | The size of the circle changed by the swirl, bulge, pinch and ripple effects. At 100%, the circle touches the middle of the shorter sides of the image (when it is centered). Nothing outside of the circle changes. | ||||||||||||||
| Click on the image to place the center | While it is on, a click on the image moves the center of the effect there, and the circle of the effect is shown. Drag to move it around. Turn it off (or choose a brush) to warp with the brushes again. | ||||||||||||||
| Center X and Center Y | The position of the center of the effect, in % of the width and of the height of the image. | ||||||||||||||
| Apply effect | Keeps the effect in the image and resets the effect to "No effect", so another one (or the same one in another place) can be added. It can be undone. | ||||||||||||||
| Outside of the image | A warp can show places beyond the edges of the image, for example when the edge is pushed inward.
| ||||||||||||||
| Show the grid | Draws lines that are straight on the original image, so they bend with the warp and show exactly what moved. They only appear on the screen. | ||||||||||||||
| Undo, Redo and Start over | Undo cancels the last stroke or the last applied effect (Ctrl+Z), and Redo brings it back (Ctrl+Y). Start over removes every warp and the effect, and can be undone too. | ||||||||||||||
| View original image | Shows the image before the warp, to compare. | ||||||||||||||
| Download image | Saves the warped image at the size of the original image, as PNG (keeps the transparency), JPG or WebP. | ||||||||||||||
| Download GIF | Saves an animation that goes smoothly from the original image to the warped image. Its duration, frames per second, size and "Play back and forth" are set in the "Animated GIF" options. The GIF also pauses for half a second at both ends. |
How does it work?
The tool never moves the pixels of the image. Instead, it keeps a displacement map: for every point of the result, an arrow that says where to read its color in the original image. With no warp, all the arrows are zero and the result is the original image. A brush stroke changes the arrows under the brush; the image itself is never touched, so pushing the same area again and again doesn't make it blurry, and "Restore" simply shrinks the arrows back to zero.
Reading the colors this way, from the result to the original image (an inverse mapping), means that every pixel of the result gets a color: there are no holes, even where the image is stretched. When an arrow points between pixels, the color is mixed from the nearest ones, and where the image is squeezed, smaller copies of the image (mipmaps) are used so that fine details don't turn into noise.
The map is smooth, so it is stored at a lower resolution than very large photos and stretched to their size. All of it is computed by your graphics card with WebGL, which is why the image follows the brush instantly even for large photos, and why the downloaded image is as sharp as the original.
The effects are mathematical formulas applied to the arrows. The swirl turns them by an angle that fades from the center to the edge of the circle; the bulge and the pinch scale them toward or away from the center; the fisheye uses a tangent, which enlarges the center and squeezes the edges; and the wave and the ripple add a sine wave. Each formula changes smoothly to zero at the edge of its circle, so the effects have no visible border.
Frequently Asked Questions (FAQ)
Is this image warp tool free to use?Yes, this tool is 100% free and works directly in your browser, with no installation and no sign-up required.
Are my images uploaded to a server?No. The image is warped by your own browser and graphics card, and it never leaves your computer.
Is this the same as Photoshop's Liquify filter?It works the same way and has the same main tools: Forward Warp (here called "Push"), Twirl, Bloat, Pinch, Smooth and Reconstruct (here called "Restore"). The results are similar, but not identical, since each program has its own brushes.
How do I make someone's eyes bigger?Choose the "Bloat" brush, make it a little larger than the eye, place it over the eye and hold the button for a moment. Or choose the "Bulge" effect, turn on "Click on the image to place the center" and click on the eye. Then click "Apply effect" and do the same for the other eye.
How do I make a funny face?Bloat the eyes, pinch the nose, push the corners of the mouth up for a giant smile, or twirl the whole face. Then click "Download GIF" to get an animation of the face warping.
The image looks stretched or smeared in one place. How do I fix it?Use the "Smooth" brush to soften the sharp bends, or the "Restore" brush to bring back the original image there. You can also undo the last strokes with Ctrl+Z.
Will the downloaded image have the same size as the original?Yes. The warp is drawn again at the size of the original image when you download it. Only images larger than 8192 pixels (or larger than what your graphics card accepts) are reduced first.
Why does the edge of the image look stretched?When the image is pushed away from an edge, the warp shows places beyond the image. By default, they are filled by stretching the pixels of the edge. Choose "Transparent", "Mirror the image" or "Repeat the image" in "Outside of the image" to fill them differently.
Can I use the images commercially?Yes. The tool does not add a watermark, and the result belongs to you, as long as you have the rights to the image you uploaded.
Related tools